
Bare Root Plant Care
Key information for planting and caring for your bareroot trees and shrubs.
Bareroot Plan Care 101
We have included a comprehensive planting and care guide to help you be successful with your planting. Bareroot planting is often less labor intensive than planting potted plants but there are key steps and precautions that will help ensure a healthy plant.
-
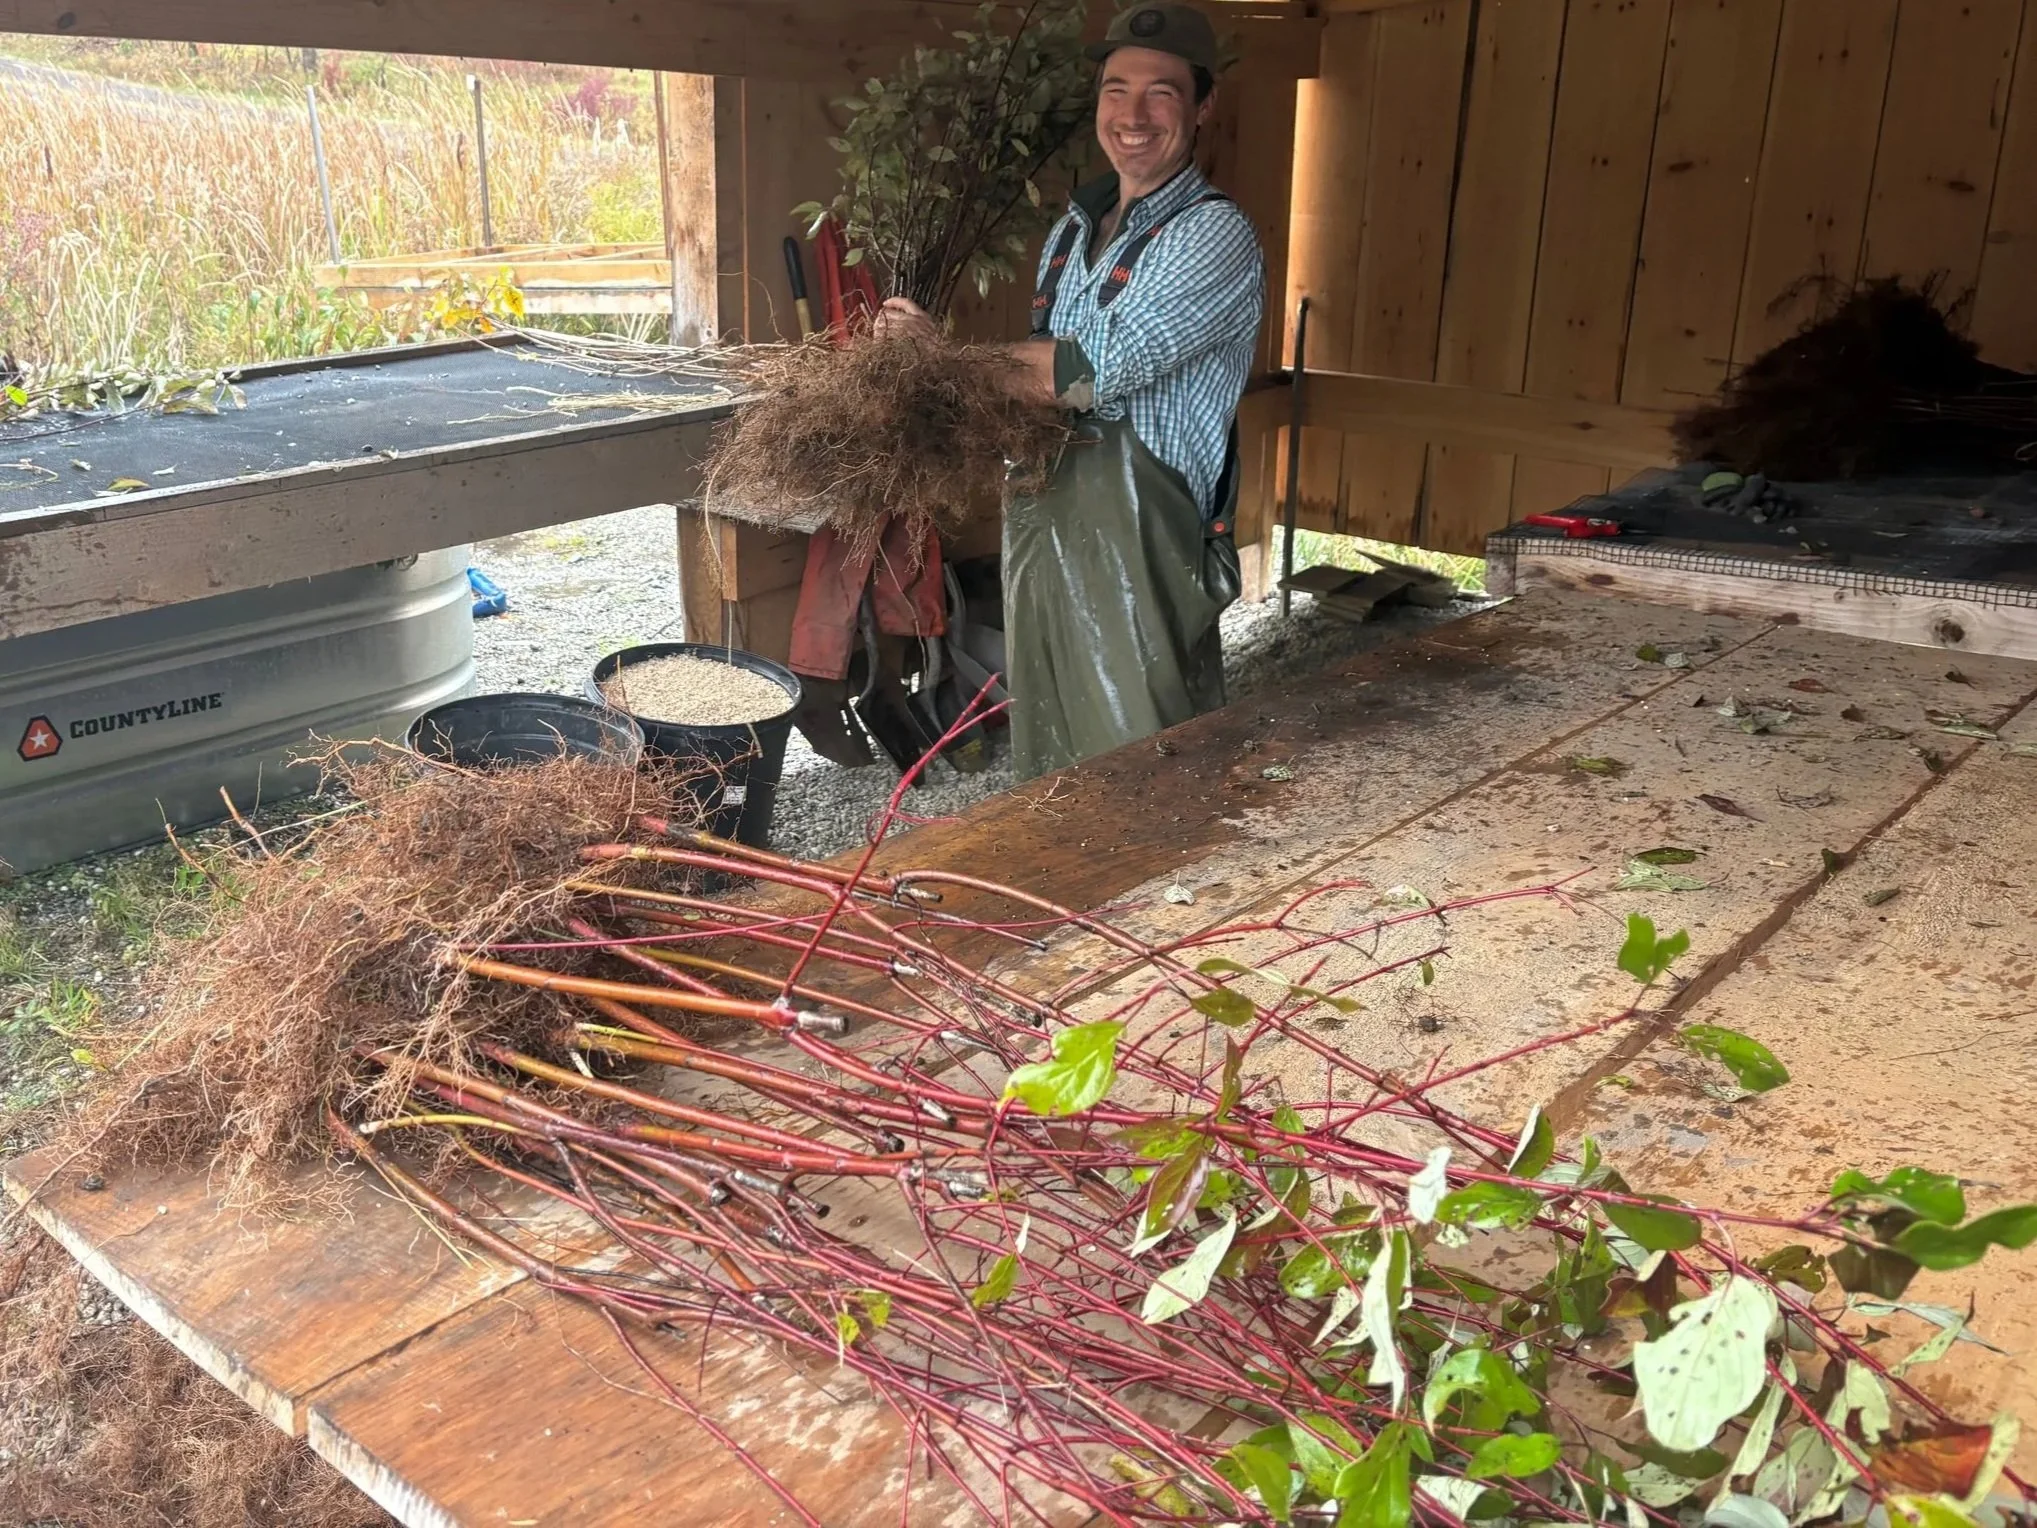
Plant roots are very sensitive while they are out of the ground – while not as drastic, it can be compared to a fish out of water. The sooner they can be planted, the better. If you cannot plant your plant(s) right away, please keep the roots in the wood shavings they came packed in and find a spot that is protected from sun/wind and temperature swings to store them.
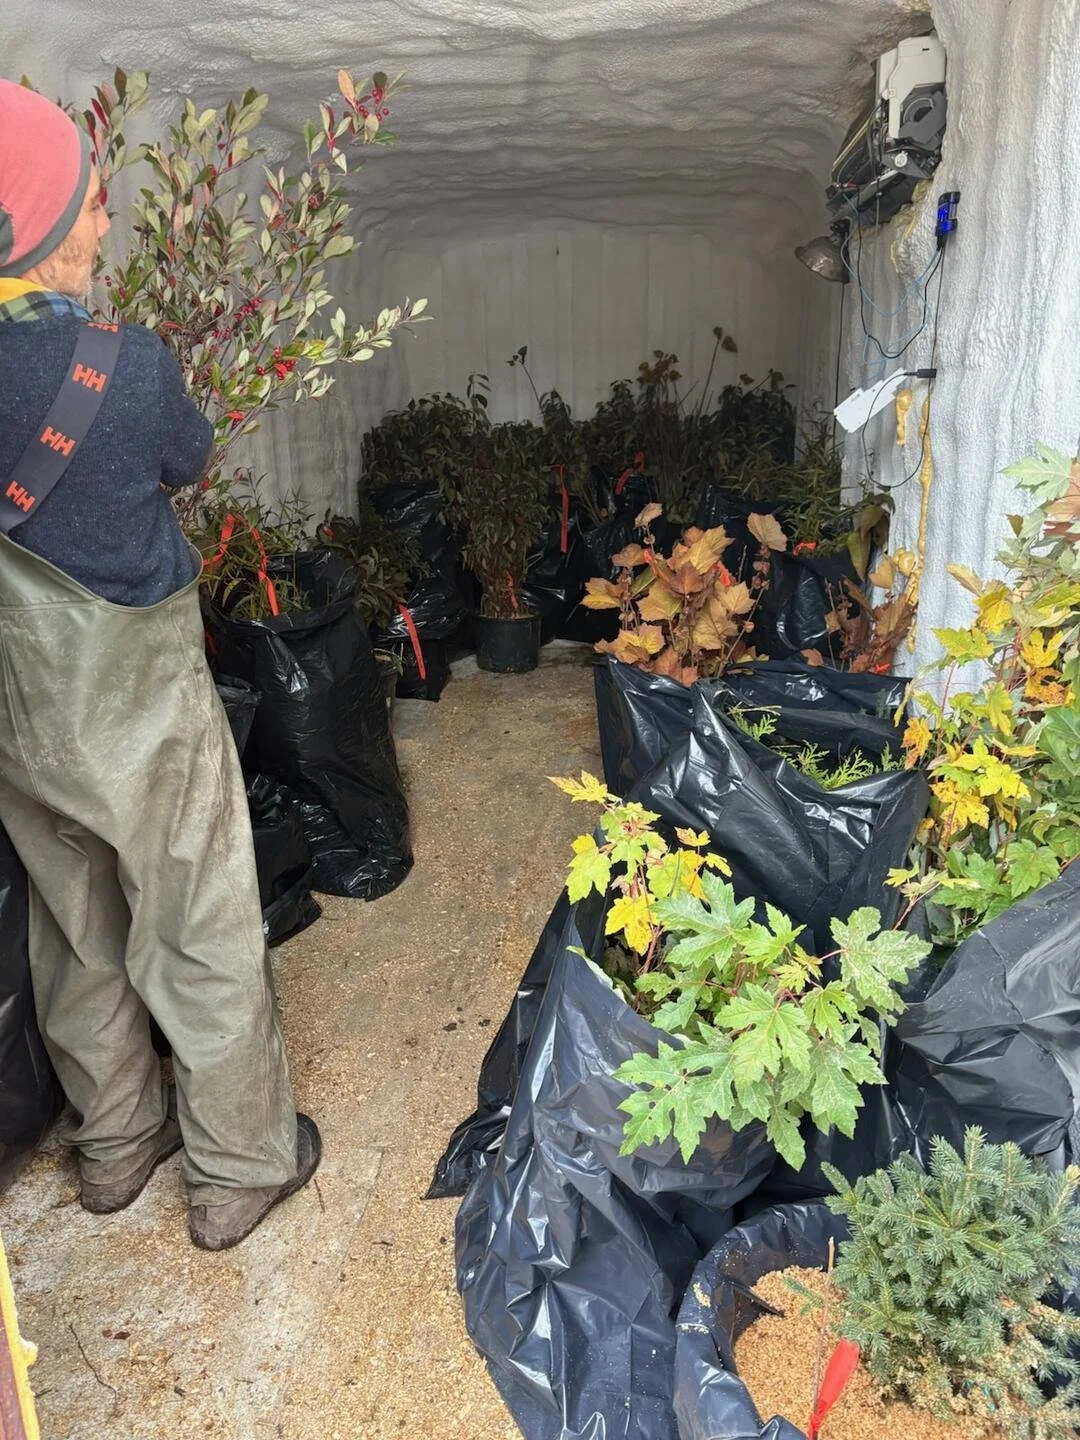
Please be careful to avoid any direct exposure to sunlight, heat sources, or wind (agents of desiccation). A cool, moist, shady environment is critical – think refrigerator. We have a large walk-in cooler to store the plants while they are awaiting transportation/planting. Basements tend to provide good storage as they are typically well insulated from sun, wind, and heat.
A cool corner in a garage or shed can also work temporarily, or you can heel the roots into a pile of mulch or wood chips in a shady location in your yard. While we absolutely do not recommend waiting any more than a couple of days, it is possible to keep bare root plants safe for longer periods of time if you can provide adequate environmental conditions.
-
Here are some essential bits for planting bare root plants. Dig a hole that is large enough to accommodate the roots without bending or breaking them (ideally 2-3 times as wide as the root system to ease root establishment). Different species have vastly different root types, so it pays to investigate the roots before digging (just be careful to put them back in safe storage while you do the digging).
Species with large taproots may require a hole that is deeper than it is wide, while a species with shallow, fibrous roots will likely requite the exact opposite. Try to break up the soil that you dug up as much as you can before refilling. If you are working with heavy clay you may need to add some compost or sand/bark mulch. Place the plant in the hole and hold it at the appropriate height so that the roots will be just barely buried, then back fill with the soil you dug out of the hole. As best as you can, try to work the soil gently around the roots so that they are not squished all together and there are no air pockets remaining when you are done. Gently tamp down the soil around the trunk to ensure the plant will not settle in a crooked manner.
Water slowly and deeply to ensure that moisture is present throughout the root zone – this will also help get rid of any air pockets so you may have to readjust for straightness as the water settles things out. If possible, use mulch to cover up the disturbed soil around the plant – this will help retain moisture for the roots and suppress weeds that compete for resources (just be careful not to pile it up around the trunk – when complete, it should look more like a donut than a volcano).
-
It should be noted that freshly planted bare root plants sometimes take longer to break dormancy than already established plants. If the plant is still dormant it may not need watering more than once a week. Once the buds start to open, and leaves emerge it is very important to ensure that the soil does not dry out completely.
Site and soil conditions, weather, and the species of plant, are all important factors that will determine how much additional watering is necessary to get your new plant(s) established. The easiest way to tell is to check the soil. If the soil at the surface is still saturated, then additional water is not beneficial. If the soil is dry at the surface but moist underneath then things are looking good but its time to consider watering before the soil column dries out completely.
It is typically a good idea to pay very close attention to your new plantings for the first few months and monitor throughout the first growing season (if you planted in the fall than this includes the following spring/summer) and provide supplemental water as necessary. This may require multiple gallons of water, multiple times a week to start. There are many bag/bucket products that can help make this an easier task. After the first year, your plant(s) should be fairly established and, if sited properly, will likely only require supplemental watering during periods of prolonged drought.
-
We are here to help if you have additional questions or if your plants are not thriving in a way you had hoped. Our goal is to increase the number of native stems planted in our area and we will work with you to help accomplish that goal.